
Table of contents
Table of contents
- What actually changed in 24H2
- What you should know first
- How to upgrade to Windows 11 24H2
- Performing a manual in-place upgrade using the ISO
- Locking devices to 24H2 via Group Policy (for administrators)
- How to fix the most common upgrade errors
- What to do if your device is stuck on 23H2 and won't upgrade
- How to roll back if something breaks
- Roll out 24H2 simply with Atera
Generate summary with AI

Windows 11 version 24H2 is not just another routine update. It has specific hardware requirements, architectural changes, and a handful of bugs that caught IT teams off guard during rollout.
This guide covers everything from what actually changed in 24H2, to the exact steps for a manual upgrade, to fixing the errors most likely to cause you blockers during the process.
What actually changed in 24H2
Before you rush to click the update button, let’s look at what this version is actually about.
Minor updates:
- The Quick Settings menu is now scrollable and customizable
- File Explorer adds support for 7-zip and TAR archives
- AI features like Live Captions and Copilot are built into Windows 11
Major updates:
- Microsoft introduced Sudo for Windows, which lets developers run elevated commands directly from the console without opening a new elevated window
- Wi-Fi 7 support added
- Checkpoint Cumulative Updates change how update packages are delivered, reducing download sizes
- Rust now integrated into the Windows kernel
- In terms of performance, branch prediction optimizations deliver noticeable speed gains on modern CPUs, particularly AMD Ryzen processors
- A unified Energy Saver mode also replaces the older power management approach
What you should know first
Windows 11 24H2 requires a specific CPU feature called POPCNT, which most processors have had for over 10 years. If your CPU doesn’t support it, you can’t upgrade.
In rare cases, CPUs have this feature but still fail the compatibility check. Tools like Rufus can force installation, but this is risky and can cause system crashes and driver problems.
Known issues to be aware of before you upgrade
During the 24H2 rollout, several issues were flagged: update installation failures, app conflicts, and performance slowdowns. Most have since been fixed, but some changes are permanent:
- WordPad, Mixed Reality, and AllJoyn are gone
- NTLMv1 and DES encryption are disabled by default (may break legacy network shares and older authentication)
If your organization relies on any of these, upgrade carefully.
» Still on Windows 10? Check your Windows 11 eligibility
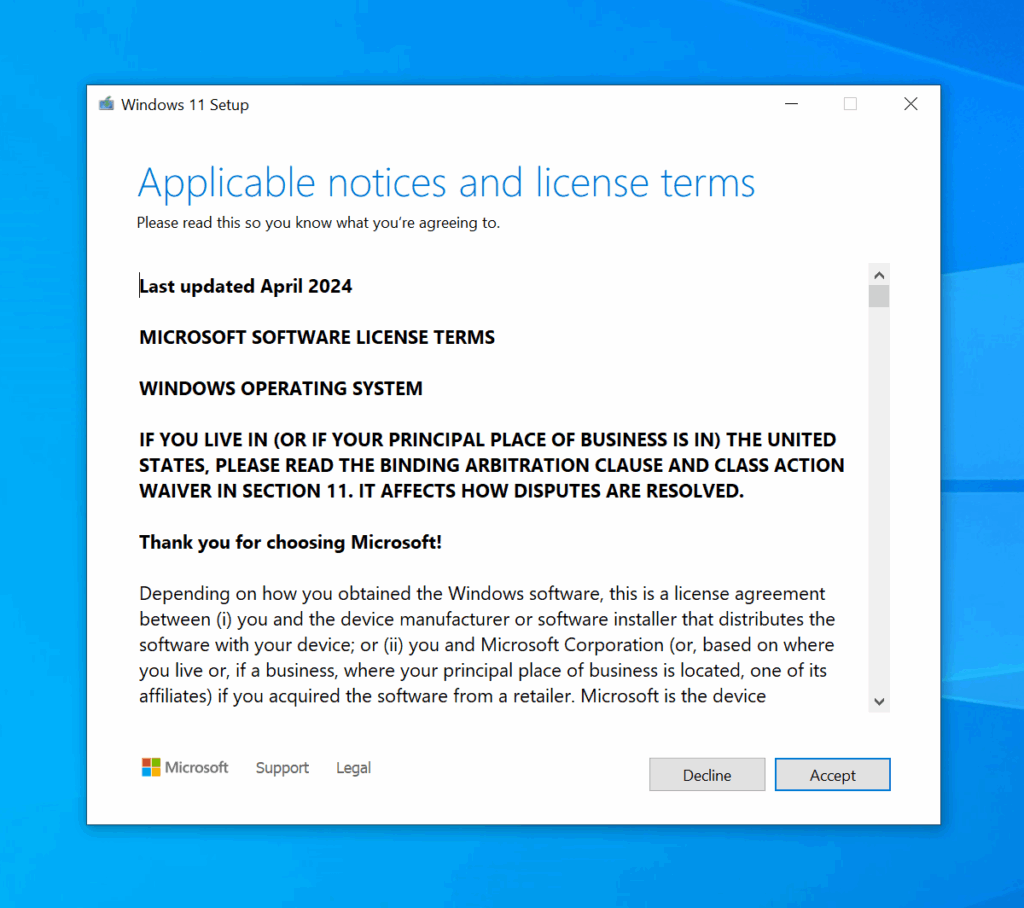
How to upgrade to Windows 11 24H2
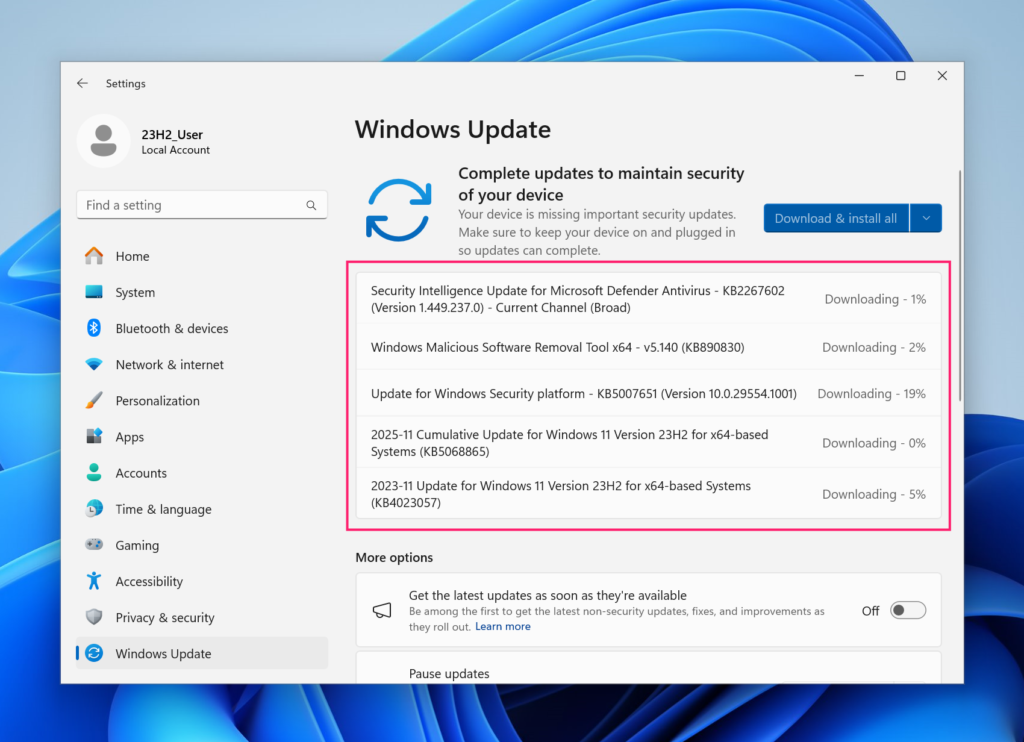
As of April 2026, the standard Microsoft tools (Installation Assistant and Media Creation Tool) fetch the latest version, which is currently 25H2. If you specifically need 24H2, your options depend on your setup.
- Enterprise users can access older versions through the Microsoft 365 Admin Center and Visual Studio Subscriptions
- IT administrators can lock devices to a specific version using the TargetReleaseVersion policy via Group Policy or Registry
- For everyone else, a clean install or upgrade to 24H2 requires the original ISO for that specific build
Performing a manual in-place upgrade using the ISO
If you have the 24H2 ISO file, you don’t need a bootable USB drive to do an in-place upgrade.
Step 1: Mount the ISO file
Open File Explorer and navigate to where the ISO is saved. Right-click the file and select Mount.

Step 2: Choose your upgrade method
Once mounted, you have two paths, manual or unattended.
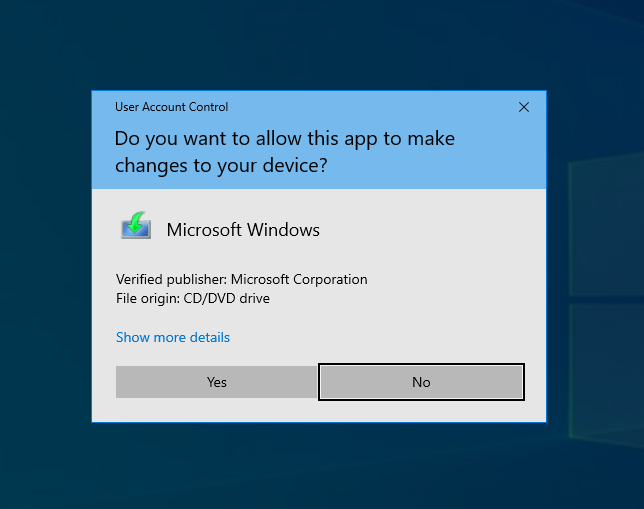
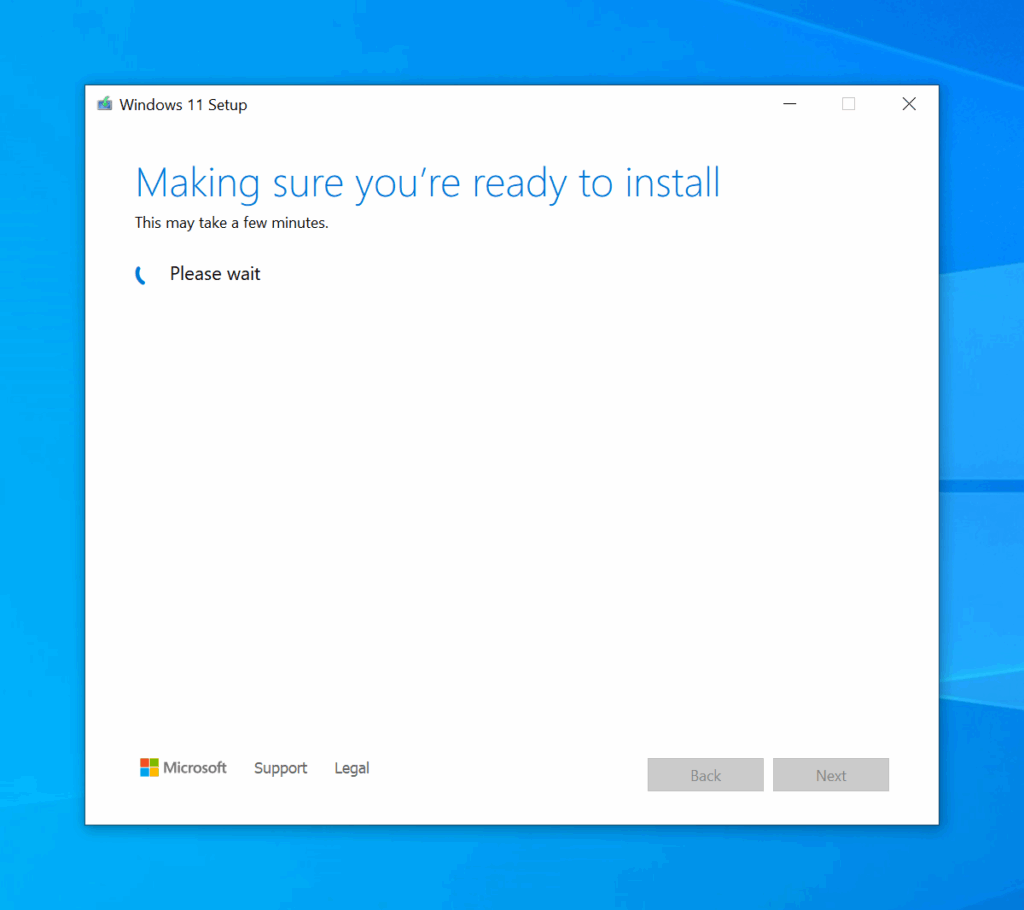
Option A (Manual): Open the newly mounted disc image and launch setup.exe.
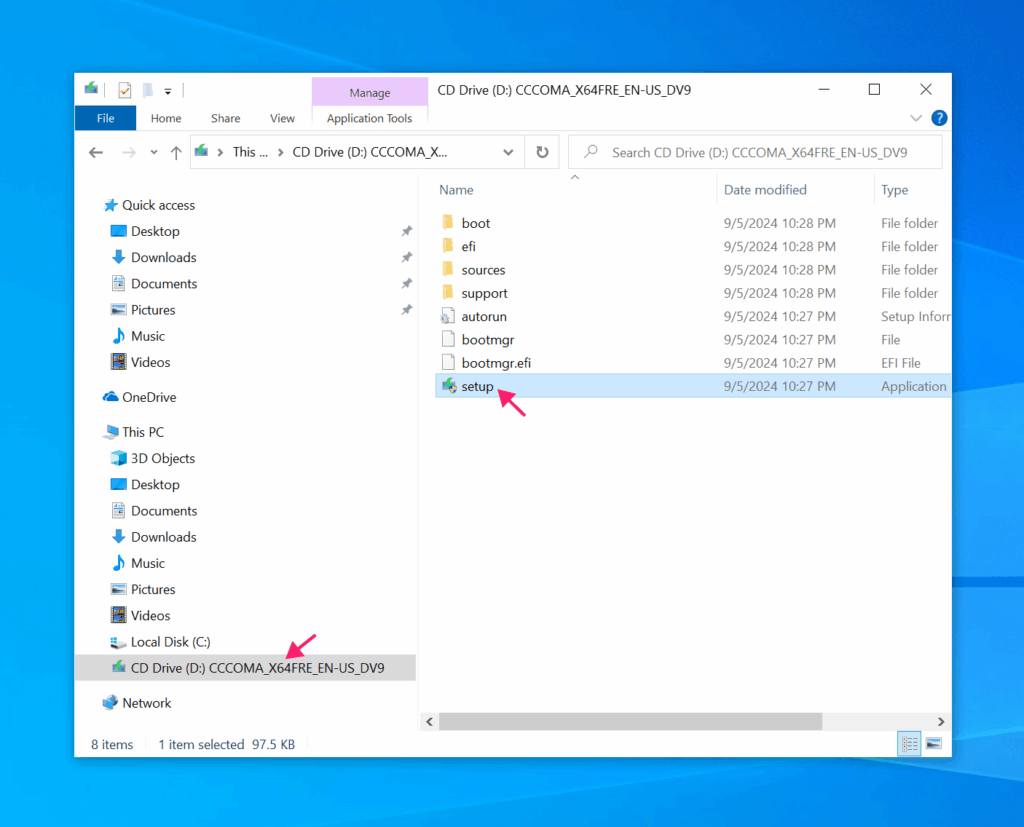
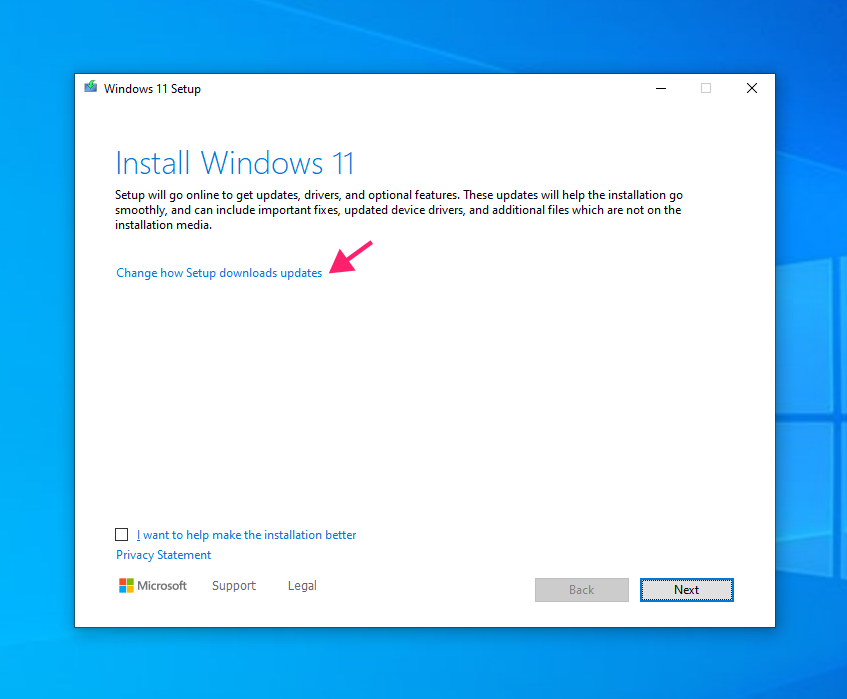
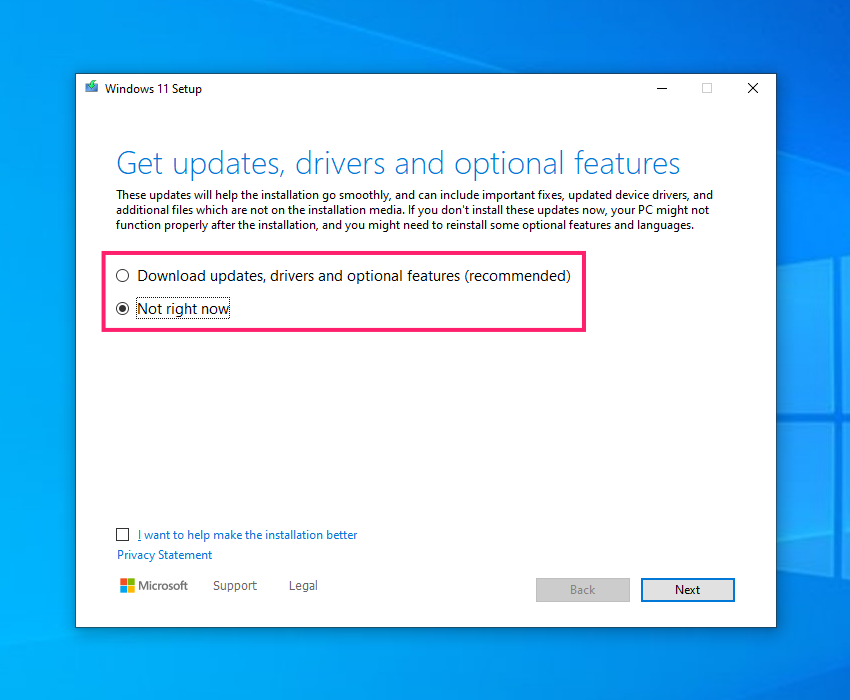
Confirm administrator privileges when prompted and follow the on-screen instructions to upgrade your current OS to Windows 11 24H2.
This works for Windows 10 version 2004 or higher, and any Windows 11 version below 24H2. You can choose to download updates during setup if preferred.
Option B (Unattended): Run the following command with elevated privileges, replacing D: with the drive letter of your mounted image.
D:\setup.exe /auto upgrade /quiet /showoobe none /dynamicupdate enable /compat ignoreconfirmpromptsHere is what each flag does:
/auto upgradeinitiates the upgrade while preserving your data and installed applications/quietsuppresses the setup UI. The process runs in the background. If it fails due to a critical error, it exits silently. Monitor progress via logs atC:\$Windows.~BT\Sources\Panther/showoobe noneskips the Out of Box Experience screens after the final reboot/dynamicupdate enableforces the installer to fetch the latest security patches/compat ignoreconfirmpromptsprevents setup from pausing on non-blocking compatibility warnings
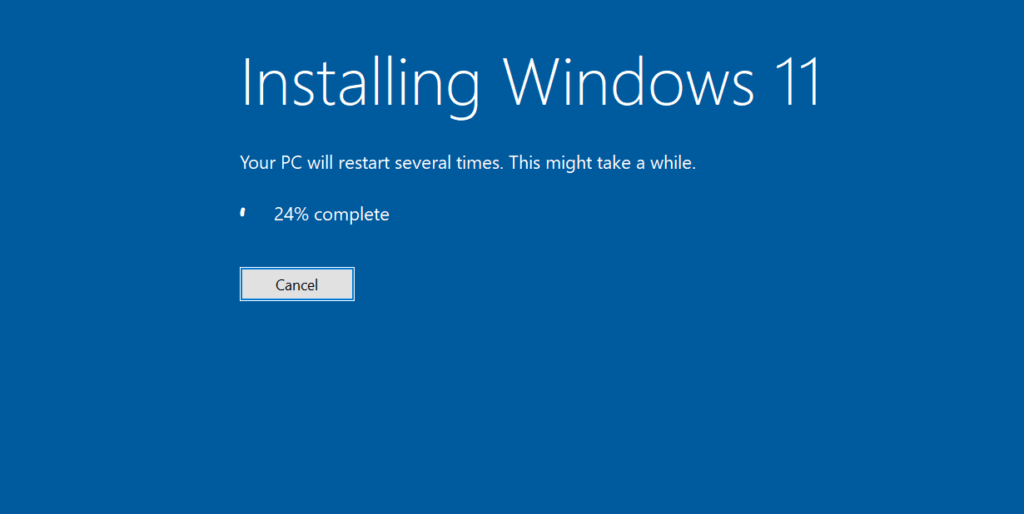
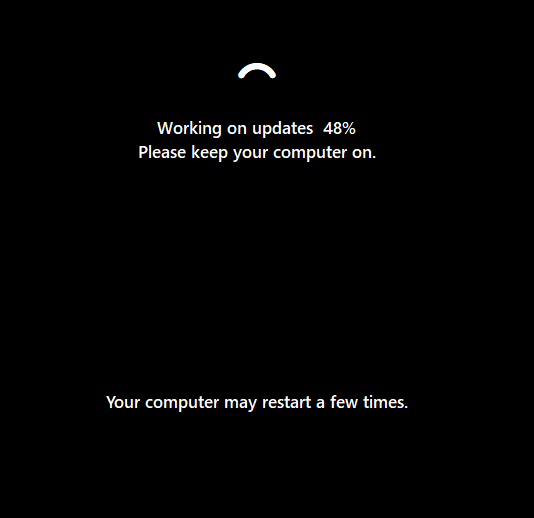
Step 3: Let the installation run
The system restarts automatically several times during installation, don’t interrupt the process.
Step 4: Verify the upgrade
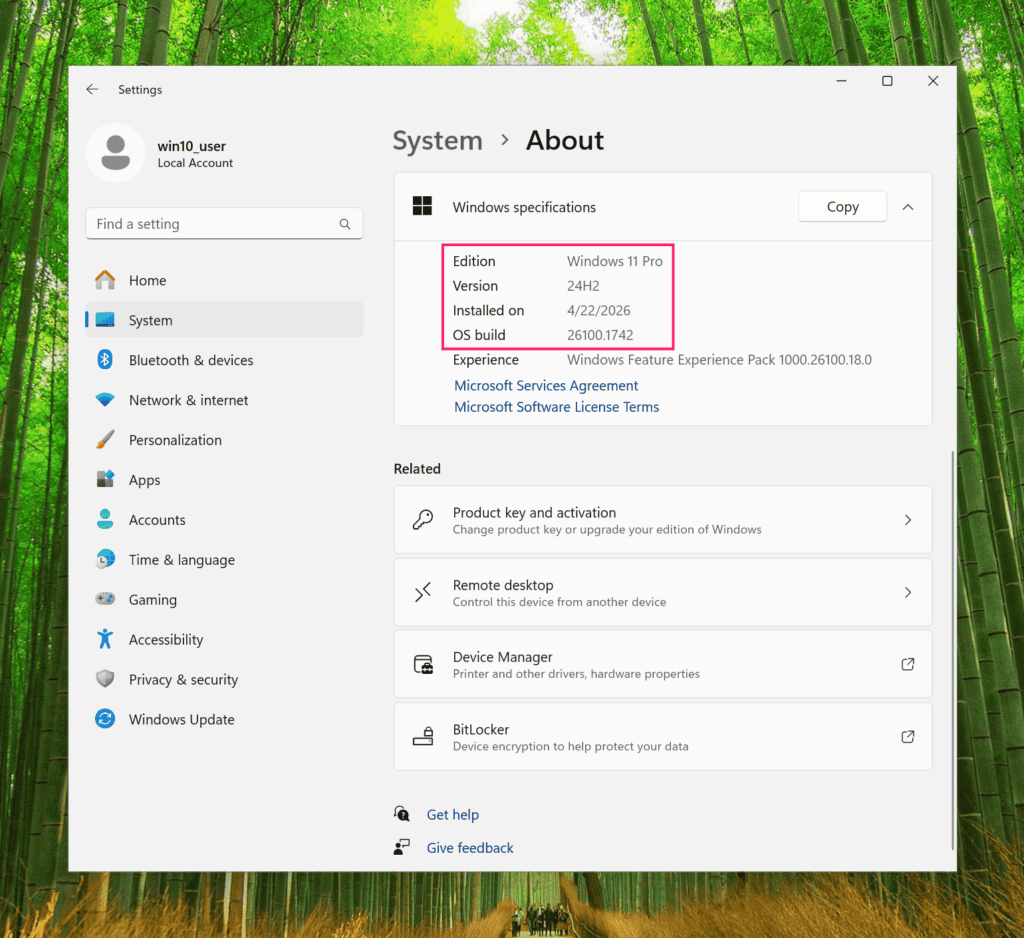
After the upgrade completes, confirm the new version by going to Settings > System > About.
Locking devices to 24H2 via Group Policy (for administrators)
Standard users cannot modify Windows Update settings without administrator privileges. For IT administrators managing multiple machines, here is how to apply version 24H2 across your environment.
» Here’s how to disable Windows updates and manually re-enable Widnows updates
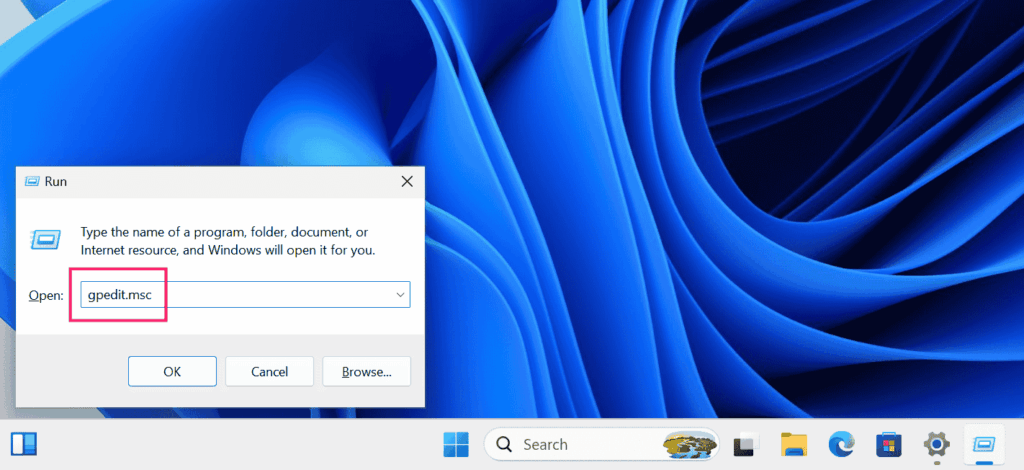
Step 1: Open Group Policy Editor
Open the Group Policy Editor. Press Win + R, type gpedit.msc , and press Enter.
Step 2: Set the target version to 24H2
Navigate to Computer Configuration > Administrative Templates > Windows Components > Windows Update > Manage updates offered from Windows Update.
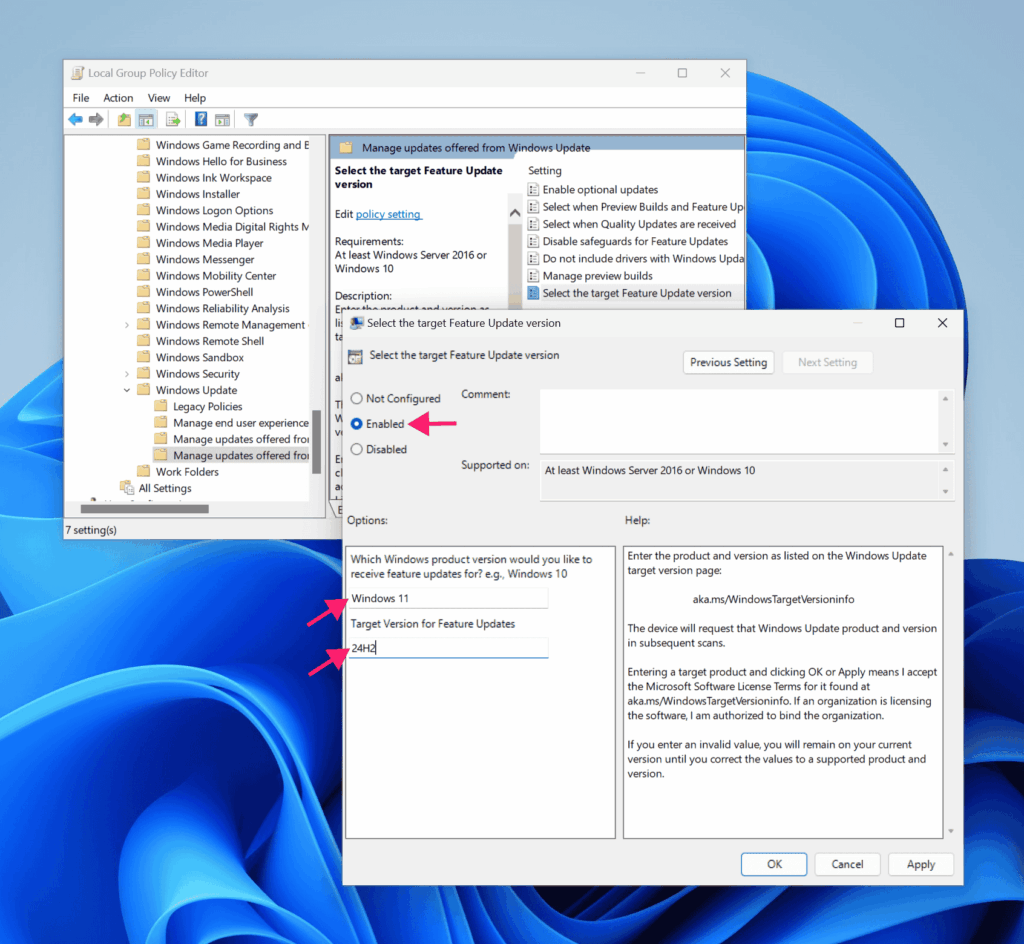
Open Select the target Feature Update version and update the fields to specify 24H2.

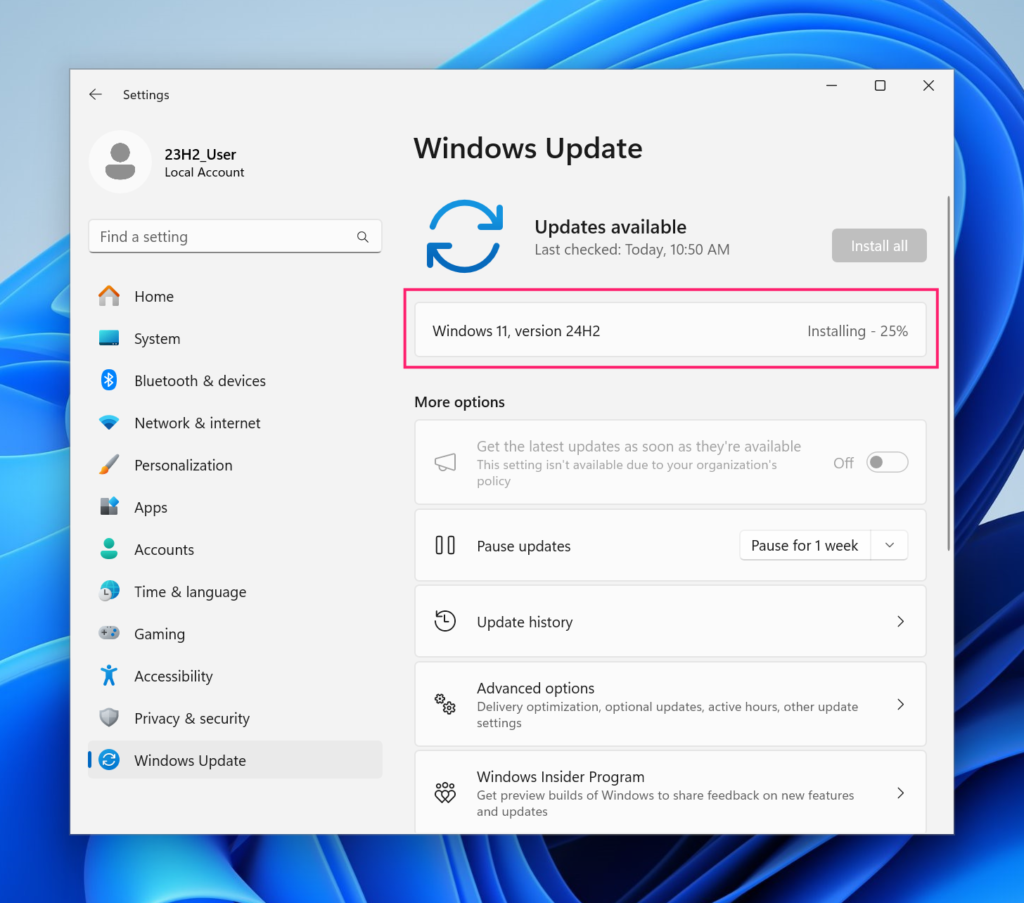
Step 3: Apply and check for updates
Relaunch Windows Update and check for updates. The download and installation proceed as normal from there.
Important: A Group Policy bug (error 0x80240069) affected some WSUS-managed devices during the 24H2 rollout on older Windows versions. Microsoft has fixed it, but before deploying 24H2 broadly, check the Windows Release Health dashboard to see if any safeguard holds apply to your devices.
» Here’s how to simplify group policy management with Atera
How to fix the most common upgrade errors
0x80240069 (WSUS and SCCM update service crash)
If you’re deploying 24H2 through WSUS or SCCM, the Update service may crash during deployment. This was a known issue, but it’s fixed. Install the May 2025 cumulative security update (KB5058405) and retry the upgrade.
0xc1900201 (System Reserved Partition space)
This error means your System Reserved or EFI partition doesn’t have enough space for the upgrade. Fix it by enlarging the partition or deleting unnecessary files so the update has room to proceed.
0x800f0838 (Checkpoint Cumulative Update failure)
24H2 changed how update packages are structured. When you download updates manually from the Microsoft Update Catalog, they come as multiple .msu files. Running them directly from a network share causes failures.
Fix: Copy the .msu files to a local folder (like C:\Temp) on the machine being upgraded, then run the installer from there with administrator privileges.
For more errors and solutions see: resolved issues in Windows 11 24H2.
What to do if your device is stuck on 23H2 and won’t upgrade
If Windows Update is not offering 24H2 at all, work through these steps in order.
Step 1: Apply the May 2025 patch first
The most common hidden blocker is the April 2025 security update (KB5055528). Devices that installed it could not pull 24H2 via WSUS. Logs showed error 0x80240069 and the Windows Update service stopped unexpectedly. The fix is KB5058405 (released May 13, 2025).
Go to Settings > Windows Update > Check for updates, install everything offered for 23H2, reboot, and retry.
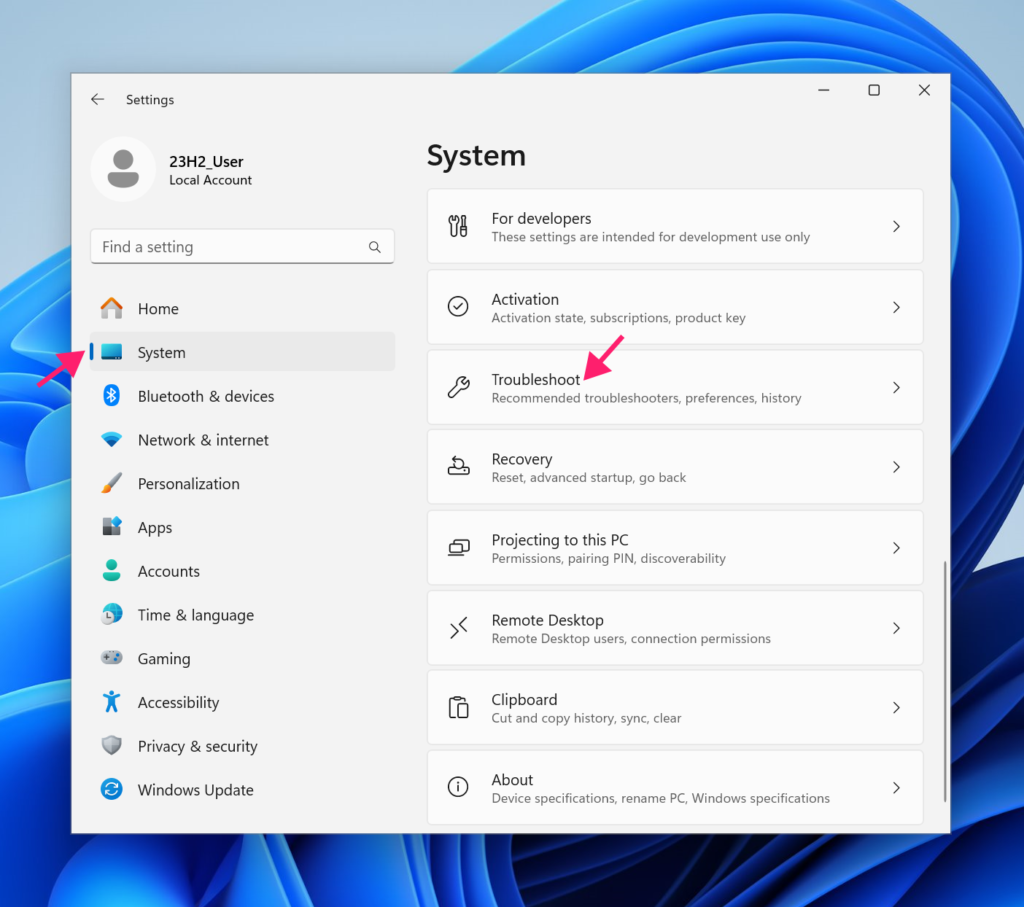
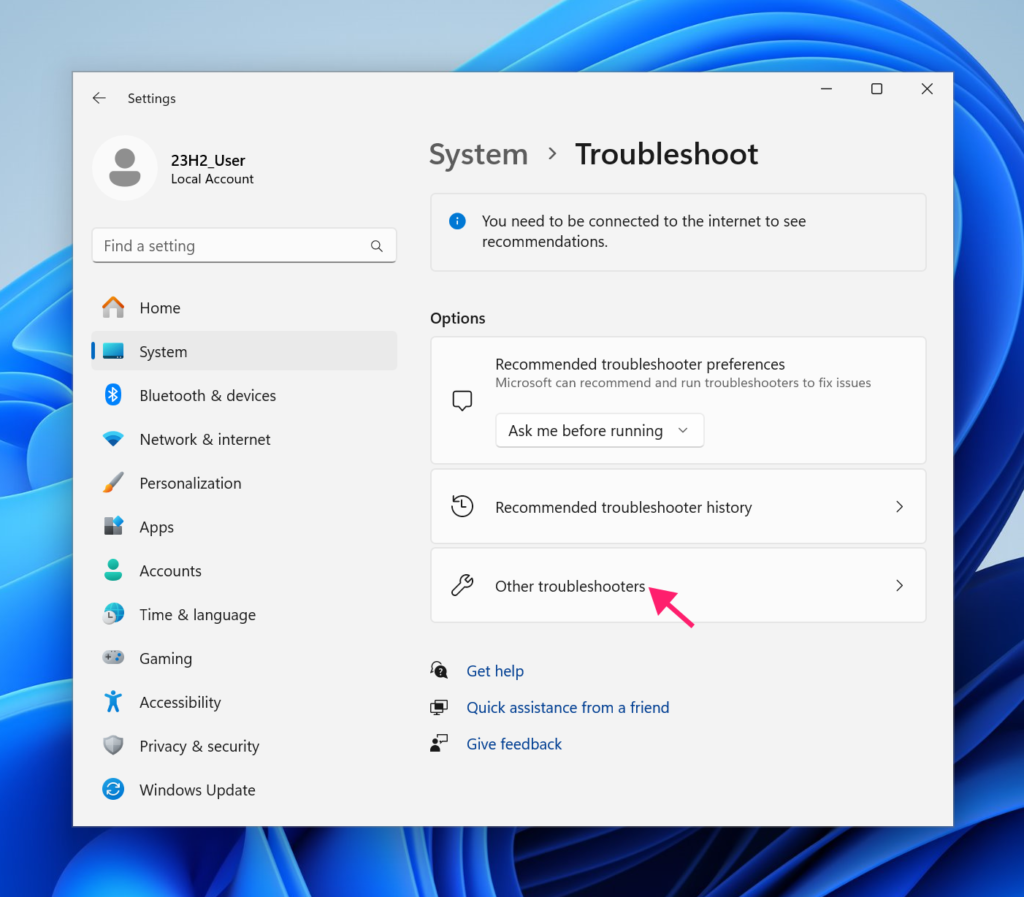
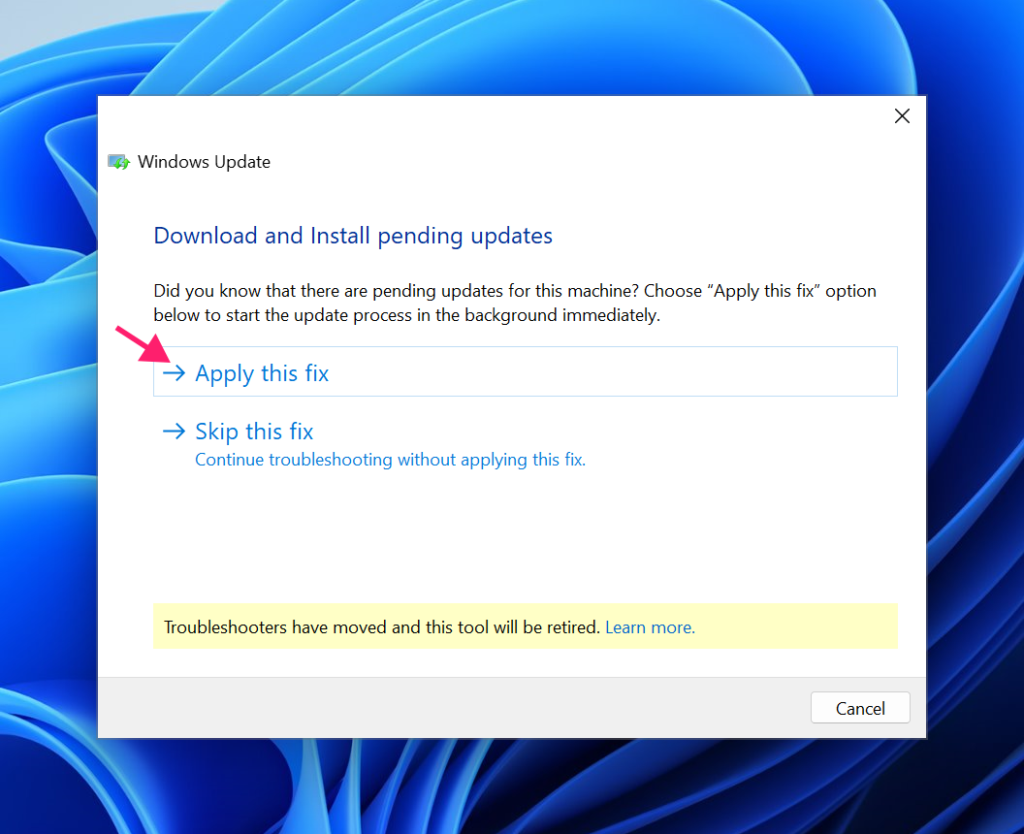
Step 2: Run the Windows Update Troubleshooter
Navigate to Settings > System > Troubleshoot > Other troubleshooters, find Windows Update, and click Run. It can repair corrupted cache files and adjust related settings automatically. Reboot after it completes and check for updates again.


Step 3: Check system integrity
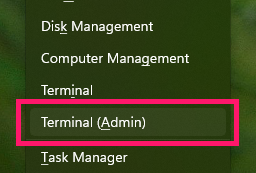
Open Terminal as administrator (Win + X > Terminal (Admin)) and run these two commands in sequence.
DISM /Online /Cleanup-Image /RestoreHealthWait for that to finish, then run: sfc /scannow
Reboot and check for updates again.
Step 4: Reset Windows Update components
Open Terminal as administrator (Win + X > Terminal (Admin)) and run:
net stop wuauserv
net stop bits
net stop cryptsvc
net stop trustedinstallerren %systemroot%\softwaredistribution softwaredistribution.bakren %systemroot%\system32\catroot2 catroot2.baknet start wuauservnet start bitsnet start cryptsvcnet start trustedinstallerSome services are interdependent, so confirm any prompts with Y + Enter.
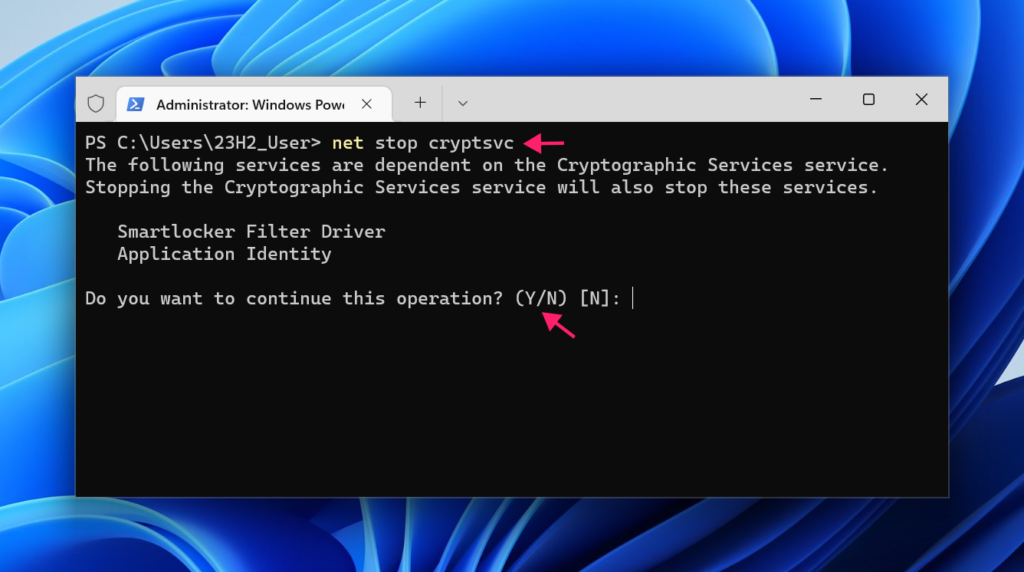
Then delete all files inside C:\Windows\SoftwareDistribution\Download, reboot, and check for updates.
Step 5: Force detection on WSUS-managed devices
On the affected machine, open Command Prompt or Terminal as administrator and run:
wuauclt /detectnowwuauclt /reportnowThis forces the device to check in with the WSUS server and report its status. Also make sure you’ve approved 24H2 in the WSUS console for the device group you’re targeting. If it’s not approved, it won’t offer the upgrade.
Important: If none of the above works, fall back to the ISO method described earlier.
How to roll back if something breaks
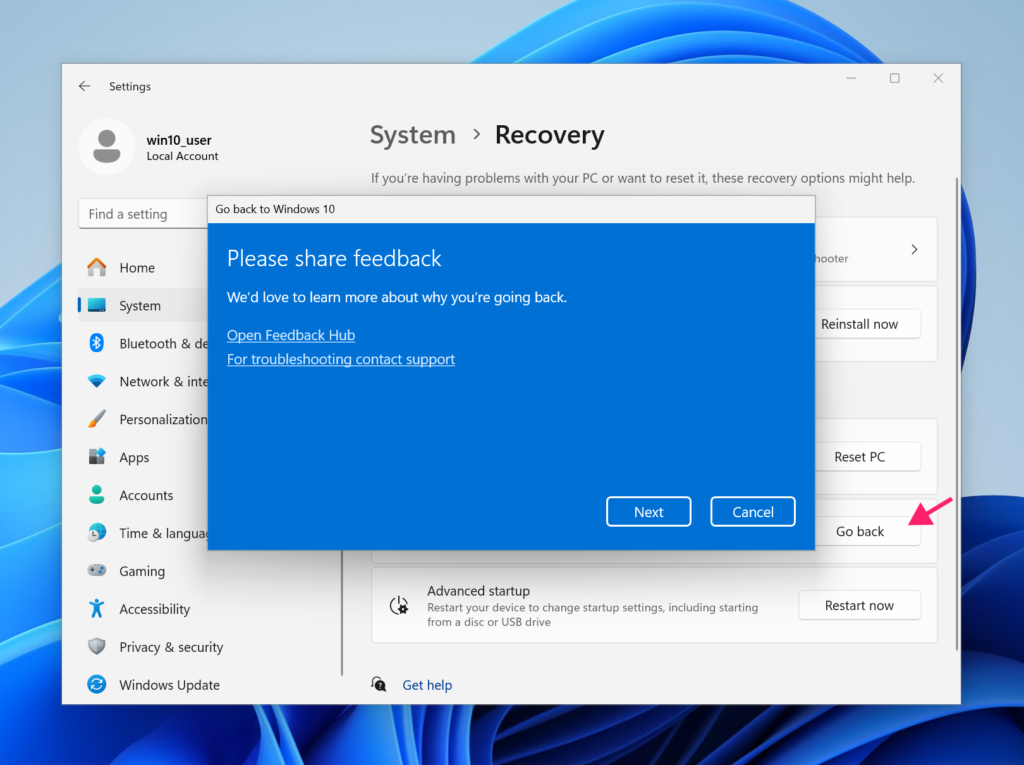
If any workflows or applications stop working after the upgrade, you can go back to your previous version within the default 10-day window (extendable to 60 days).
Go to Settings > System > Recovery and click Go back. Follow the on-screen instructions.
To extend the rollback window to 60 days, open Terminal as administrator and run:
dism /online /set-osuninstallwindow /value:60Confirm the change with:
dism /online /get-osuninstallwindow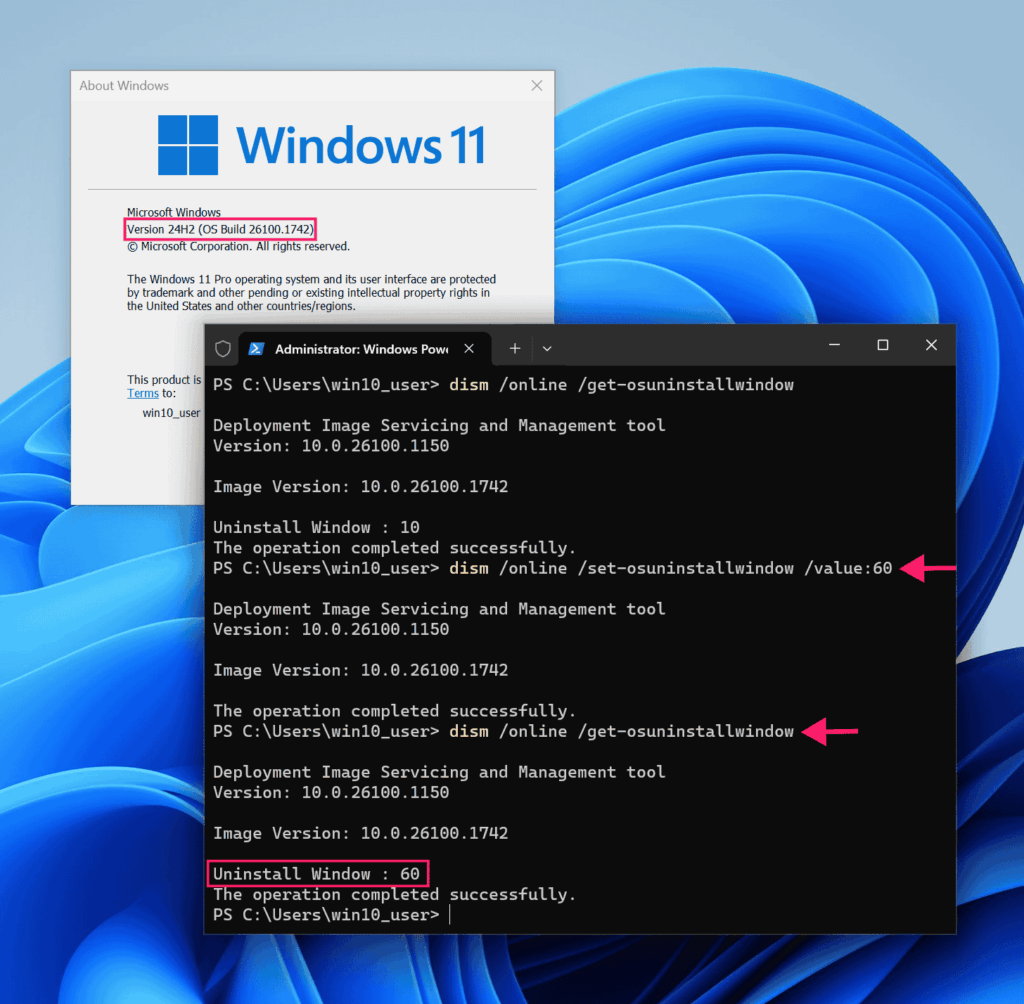
After rolling back, update your Group Policy to prevent Windows Update from pushing the version you just reverted from.
Roll out 24H2 simply with Atera
Managing 24H2 upgrades at scale means tracking upgrade status, catching post-upgrade issues early, and deploying fixes remotely, without manual checks slowing you down. Atera’s RMM platform gives you that control. Deploy scripts remotely, monitor your fleet in real time, validate configurations automatically, and catch driver or compatibility conflicts before they become support tickets. When errors like 0x80240069 or 0xc1900201 appear, you can push fixes without touching a single machine. For IT teams and MSPs, that visibility turns a chaotic rollout into a predictable one, especially when you know the blockers ahead of time.
Related Articles

How to disable and enable Hibernate in Windows 11
Hibernation isn't just a power-saving toggle. It writes your entire RAM to disk, kills power completely, and holds an unencrypted snapshot of everything in memory if BitLocker isn't running. Whether to leave it on, turn it off, or control it across a fleet depends on knowing exactly what it does and which lever actually does what.
Read now
How to reset Windows 11 to factory settings
A factory reset can fix almost anything or destroy everything you meant to keep. Windows 11 has four distinct reset paths, each built for a different failure scenario. Choosing the wrong one, skipping prep, or hitting a stall at 64% can turn a fixable problem into a data recovery emergency.
Read now
How to exclude a folder from Windows Defender
This guide details how to configure Windows Defender folder exclusions using GUI, PowerShell, and Group Policy, while explaining performance scenarios, risks, and verification steps using the EICAR test string.
Read now
How to set up a personal vault in OneDrive
Cloud storage feels private until the wrong person has your password. OneDrive's Personal Vault adds a second verification layer, auto-locks after inactivity, and encrypts locally on Windows via BitLocker, making it genuinely harder to access than a standard folder.
Read nowEndless IT possibilities
Boost your productivity with Atera’s intuitive, centralized all-in-one platform